What if doubling your screen space could cut your workday stress in half?
A dual monitor setup is a simple upgrade for your workspace. Windows 10 and Windows 11 have tools to manage multiple displays. You just need the right cables, system updates, and a few minutes of your time.
Setting up dual monitors is easier than you think. Your computer assigns numbers to each screen. Arranging them takes just a few clicks. You can also connect wirelessly by pressing Windows key + K and choosing a wireless display adapter plugged into your TV’s HDMI port.
This guide will help you connect two monitors to your computer. You’ll learn about compatibility and fine-tuning display settings. You’ll have a dual monitor setup before your next coffee break.
Key Takeaways
- Windows 10 and Windows 11 both support dual monitor setups with built-in display management features.
- Check for Windows updates through Settings before connecting your second monitor to avoid driver issues.
- Your computer automatically detects connected displays and numbers them for easy identification.
- You can connect two monitors to computer ports using HDMI, DisplayPort, or even wireless adapters.
- Proper cable connections to your PC or docking station are essential before configuring display settings.
- The entire dual monitor setup process typically takes less than 15 minutes from start to finish.
Understanding Dual Monitors: Benefits and Setup
Using two monitors changes how you work and play. It gives you more space for apps and tools. You can do things faster because you have more room.
Improve Productivity with Multiple Screens
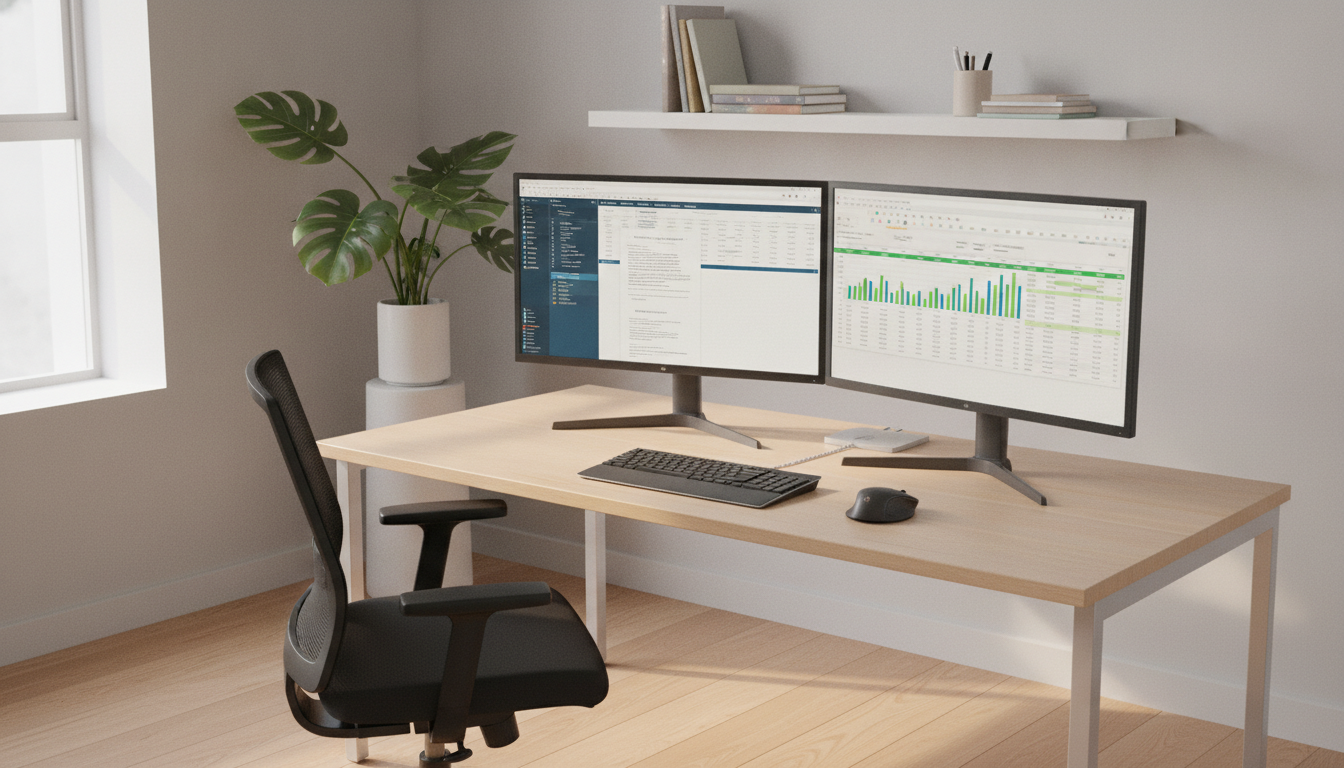
Studies show workers with two monitors work up to 20% faster than those with one. You can have a spreadsheet on one screen and emails on the other. No more switching back and forth.
With two screens, you can focus on one task at a time. This helps you stay focused all day.
Enhanced Gaming Experience
Gamers get a wider view with two monitors. You can play games on one screen and chat on the other. This makes gaming more fun and organized.
Streamlined Multitasking
Using two monitors makes moving your mouse easy. You can drag windows between screens. If you use many computers, a KVM switch for dual monitors makes things simpler.
Here are the main benefits:
- More space for apps and documents
- Switch tasks faster without closing windows
- Focus on one task per screen
- Workplace is cleaner and more organized
| Benefit | Single Monitor | Dual Monitor Setup |
|---|---|---|
| Screen Real Estate | Limited to one display | Doubled workspace area |
| Task Switching Speed | Requires minimizing windows | Instant, side-by-side access |
| Productivity Gain | Baseline | Up to 20% improvement |
| Multitasking Ease | Frequent tab juggling | Smooth, drag-and-drop workflow |
Before you start, check if your computer can handle two monitors. Then, make sure your hardware is compatible.
Check Your Computer’s Compatibility
Before you connect a second monitor, check if your computer can do it. Not all computers can use two screens at once. A quick check of your hardware saves you time and frustration.
Monitor Requirements
Your monitors must match your computer’s ports. Look at the back of each screen for HDMI, DisplayPort, USB-C, or VGA inputs. Most monitors today have at least two input options.
Laptop users have limited ports. A docking station like the Dell WD22TB4 adds extra video outputs. Multi-port adapters like the Dell DA310 are also good for travel.
Graphics Card Specifications
Your graphics card decides how many screens you can use. Not all GPUs support more than one display. Check your card’s specs before buying a second monitor.
Most modern GPUs from NVIDIA and AMD handle dual monitors well. Integrated graphics in recent Intel and AMD processors also support two displays. Desktop users with only one video port might need to upgrade to a dedicated card.
| Graphics Card Type | Typical Display Outputs | Max Monitors Supported | Best For |
|---|---|---|---|
| Intel Integrated (12th Gen+) | HDMI, DisplayPort | 2–3 | Office and productivity tasks |
| NVIDIA GeForce RTX 4060 | HDMI, 3x DisplayPort | 4 | Gaming and creative work |
| AMD Radeon RX 7600 | HDMI, 3x DisplayPort | 4 | Gaming and multitasking |
| Apple M3 (MacBook) | HDMI, Thunderbolt/USB-C | 2 | Professional workflows |
Once you confirm your hardware is compatible, you’re ready to pick the right monitors for your needs.
Selecting the Right Monitors
Choosing the right monitors is key when setting up two monitors on Windows 10. The size, resolution, and type of panel affect your experience. Let’s look at what’s important.
Consider Display Size and Resolution
It’s best to have monitors of the same size and resolution for a smooth workflow. A pair of 27-inch displays at 1440p offers lots of space without eye strain. This makes moving your cursor between screens easy.
Using different resolutions is possible. Windows will adjust each screen separately. But, moving your mouse between screens might feel a bit bumpy.
A TV with an HDMI port can be used as a second monitor. TVs have higher input lag, so they’re better for watching videos or reference material, not precise tasks.
When picking a GPU, ensure it has enough outputs and VRAM. You can look at capable GPUs for multi-monitor setups to find the right one for you.
Panel Types: IPS, TN, OLED
The panel type impacts color accuracy, viewing angles, and response times. Here’s a quick guide to help you choose:
| Panel Type | Color Accuracy | Viewing Angles | Response Time | Best For |
|---|---|---|---|---|
| IPS | Excellent | Wide (178°) | 4–6 ms | Creative work, office tasks |
| TN | Average | Narrow (170°) | 1–2 ms | Budget setups, fast gaming |
| OLED | Outstanding | Wide (178°) | 0.1 ms | Premium creative and media use |
For most professionals, IPS panels are the best choice. They offer great quality at a good price. After picking your monitors, you’ll be ready to choose the right cables and connections next.
Types of Connections for Dual Monitors
Before you start using two monitors, find out what cables your stuff needs. Today’s computers and screens have many ports. Choosing the right one is key for clear pictures and easy setup.
HDMI vs. DisplayPort
HDMI and DisplayPort are top picks today. HDMI is on most screens and computers from the last ten years. It carries both video and sound in one cable, making your desk neater.
DisplayPort has a cool feature: daisy chaining. This lets you link many screens with fewer cables. The newer DisplayPort 1.4 and up can show 4K at high speeds, great for art and games.
USB-C is a newer choice that sends DisplayPort signals. Many laptops from Apple, Dell, and Lenovo use USB-C for video. If you’re setting up dual monitors on a new laptop, USB-C might be your best choice.
VGA and DVI Options
VGA and DVI are older but still around. VGA is analog and quality drops at high resolutions. DVI is digital and works well up to 1920×1200.
Adapters can help if your monitors have different ports. Here’s a quick guide to help you pick the right cables for dual monitors:
| Connection Type | Max Resolution | Audio Support | Daisy Chain | Best For |
|---|---|---|---|---|
| HDMI 2.1 | 8K at 60Hz | Yes | No | General use, gaming |
| DisplayPort 1.4 | 8K at 60Hz | Yes | Yes | Creative work, multi-monitor setups |
| USB-C (Alt Mode) | 4K at 60Hz | Yes | Yes | Laptops, portable setups |
| DVI-D | 1920×1200 at 60Hz | No | No | Older desktops |
| VGA | 2048×1536 at 60Hz | No | No | Legacy equipment |
After picking the right cables, you’re ready to connect your monitors. This is the next step.
How to Physically Connect Your Monitors
Now you’ve picked the right cables and ports. It’s time to get your hands dirty. Connecting two monitors to your computer takes just a few minutes. Follow these steps for a smooth setup.
Connecting via HDMI
HDMI is the most common way to connect a monitor to your machine. Power off your computer first to protect your hardware.
Plug one end of the HDMI cable into your monitor. Then, plug the other end into an HDMI port on your PC or laptop. Do the same for the second screen. Turn on both monitors before starting your computer.
Once your system boots up, Windows or macOS will find the new displays quickly. You’ll see your desktop extend or mirror in seconds.
Using DisplayPort Cables
DisplayPort is great for higher refresh rates or resolutions. The connection process is the same as HDMI—just match cable ends to the correct ports.
Many newer graphics cards from NVIDIA and AMD offer multiple DisplayPort outputs. This makes it easy to connect two monitors without adapters. Make sure each cable clicks securely into place.
| Connection Type | Max Resolution | Best For |
|---|---|---|
| HDMI 2.1 | 4K at 120Hz | General use and gaming |
| DisplayPort 1.4 | 8K at 60Hz | Creative work and high refresh rates |
Arranging the Monitors on Your Desk
A clean desk layout is as important as the cables you choose. Place both screens at eye level to avoid neck strain.
Think about using a dual monitor arm or adjustable stand for better ergonomics. Ergotron and AmazonBasics offer good options under $50. Put the primary screen directly in front of you and angle the second screen slightly inward.
- Keep screens at arm’s length (about 20–26 inches away)
- Align the top edge of each monitor with your natural eye line
- Tilt screens back 10–20 degrees for comfortable viewing
With your monitors set up, you’re ready to adjust display settings and fine-tune your setup.
Configuring Display Settings on Windows
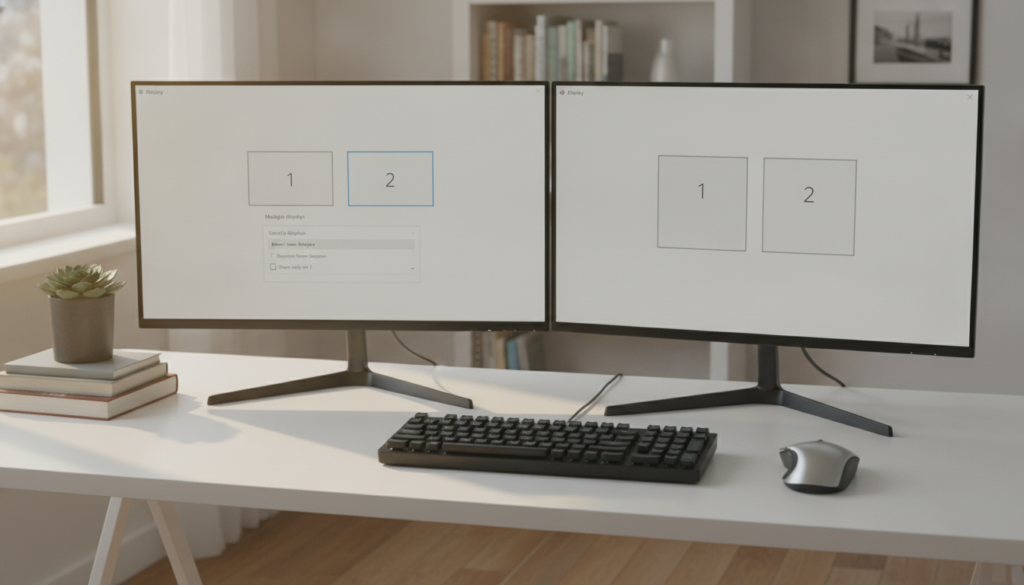
Once your monitors are plugged in, it’s time to set up your dual screen configuration in Windows. The right settings make your screens work together as one smooth workspace. Let’s walk through the key steps.
Accessing Display Settings
Open your display settings by clicking Start > Settings > System > Display. You’ll see a visual map showing your connected monitors as numbered rectangles.
Click the Identify button. A large number will flash on each screen, telling you which display matches which icon in Windows. This is essential when you extend display to two monitors for the first time.
Drag the monitor icons to match your real desk layout. Align them at the top edge so your mouse glides between screens without jumping. This small step saves you daily frustration.
Adjusting Resolution and Orientation
Click on each monitor icon to adjust its individual settings. Set the resolution to match each screen’s native specs for the sharpest image. Running a non-native resolution can make text look blurry and cause eye strain.
If you use a monitor in portrait mode, change the orientation under Scale and Layout. This is great for reading documents, coding, or viewing long spreadsheets.
Windows 11 brings two useful features for your dual screen configuration:
- Remember window locations based on monitor connection — your apps snap back into place each time you reconnect.
- Minimize windows when a monitor is disconnected — prevents lost windows floating on a missing screen.
| Setting | Where to Find It | Why It Matters |
|---|---|---|
| Display Identification | Display Settings > Identify | Maps physical screens to Windows icons |
| Resolution | Display Settings > Display Resolution | Ensures sharp, clear visuals on each screen |
| Orientation | Scale and Layout > Display Orientation | Switches between landscape and portrait modes |
| Monitor Arrangement | Display Settings > Drag Icons | Aligns cursor movement with physical placement |
With these settings dialed in, you can extend display to two monitors and enjoy a seamless workspace. Next, let’s look at how Mac users can achieve the same results.
Configuring Display Settings on Mac
Setting up a second monitor on a Mac is easy if you know how to do it on a Windows PC. Apple makes it simple with a clean interface. You can change each screen’s settings on its own.
System Preferences Overview
On macOS Ventura and later, click the Apple menu and select System Settings. Then, choose Displays from the sidebar. You’ll see each monitor listed with its own settings.
For older macOS versions, go to System Preferences and click Displays. Each monitor has its own settings window. You can choose a scaled resolution or the native option for the best image.
| Setting | macOS Ventura & Later | macOS Monterey & Earlier |
|---|---|---|
| Access Path | System Settings → Displays | System Preferences → Displays |
| Resolution Control | Unified sidebar panel | Separate window per monitor |
| Refresh Rate | Dropdown in display panel | Option key + Scaled |
| Color Profile | Built-in per display | Built-in per display |
Setting Display Arrangement
Click the Arrange button to see a visual map of your screens. Drag each display icon to match your desk. This makes sure your cursor moves right.
You can drag the white menu bar from one display to the other. This sets your primary screen. Getting the arrangement right is key, just like for Windows users.
- Match the on-screen layout to your real desk position
- Set refresh rates for each display separately
- Choose scaled resolutions to balance clarity and screen space
Once your Mac displays are arranged, you’re ready to explore extended versus mirrored modes in the next section.
Setting Up Extended vs. Duplicate Displays
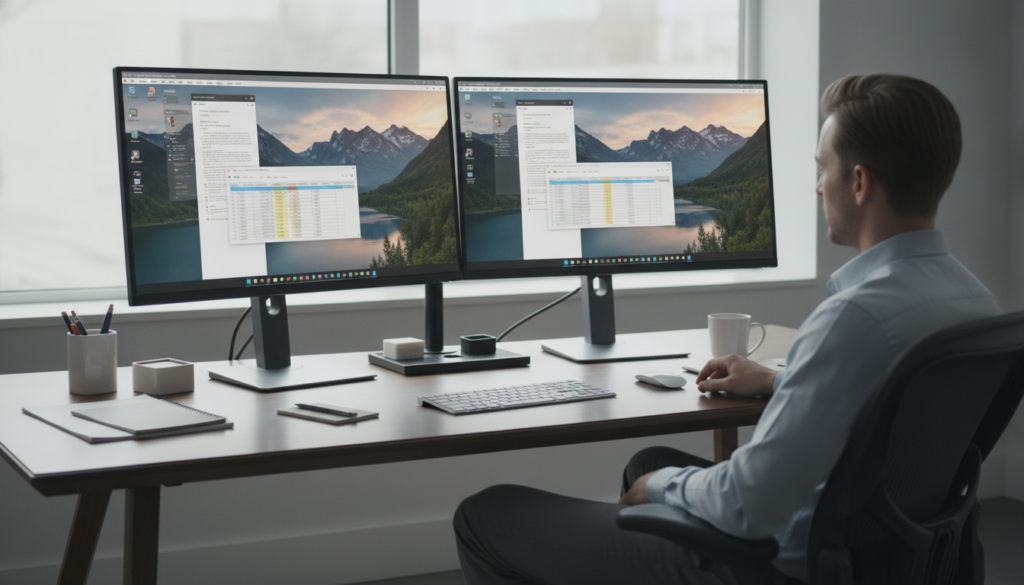
After setting up two monitors on Windows 10, you must decide how they work together. Press Windows key + P on your keyboard. A sidebar will pop up with four display options. Each option changes how content appears on your screens.
Differences Between Extended and Mirrored Displays
Your dual monitor settings offer two main ways to use your screens. Knowing the difference helps you choose the best for your work.
| Display Mode | What It Does | Best For |
|---|---|---|
| PC Screen Only | Shows content on your primary monitor only | Single-screen tasks |
| Duplicate | Mirrors the same content on both screens | Presentations and demos |
| Extend | Treats both monitors as one large desktop | Productivity and multitasking |
| Second Screen Only | Displays everything on the second monitor | Using an external display as primary |
Extend mode lets you move windows between screens easily. You can have email on one screen and a spreadsheet on the other. Duplicate mode shows the same image on both screens all the time.
When to Use Each Mode
Use Extend to boost your daily work. It’s great for professionals who use many apps. You get more space without switching tabs.
Use Duplicate for presentations. Your audience sees what you see. It’s perfect for meetings, training, and pitches.
Most people find Extend mode best for two monitors on Windows 10. You can switch modes by pressing Windows key + P anytime.
Troubleshooting Common Issues
Setting up dual monitors is just the start. Sometimes, screens go dark, show errors, or won’t connect. These issues are annoying, but most fixes are easy.
No Signal on Second Monitor
A “no signal” message is common. First, check your cables. Make sure they are firmly plugged in.
Then, check the monitor’s input source. Many monitors have different ports. Press the input button to switch.
If the screen is still blank, try these steps:
- Go to Start > Settings > System > Display and click Detect.
- Disconnect all monitors, then reconnect them one at a time.
- Restart your computer with both monitors plugged in.
- Test the second monitor on its own to check for hardware failure.
Dell has a guide to solve multiple display problems. It covers driver updates and BIOS checks.
Resolution Not Supported Error
This error happens when your graphics card can’t handle the resolution. Your system might not have enough bandwidth.
| Symptom | Likely Cause | Quick Fix |
|---|---|---|
| Black screen with error message | Resolution set too high | Lower resolution in Display Settings |
| Third monitor won’t display | GPU output limit reached | Check your graphics card specs |
| Stretched or blurry image | Mismatched scaling | Set each monitor’s native resolution |
To fix this, open Display Settings and adjust each monitor’s resolution. Knowing when to adjust settings is key. With these fixes, you’re ready to use software tools for easier screen management.
Software Options for Dual Monitor Management
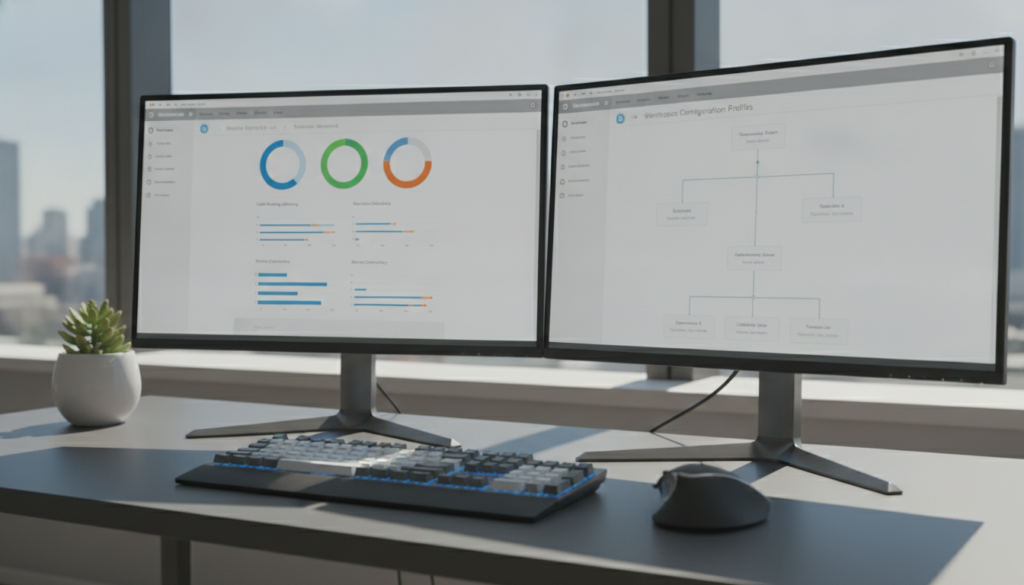
Connecting two monitors and adjusting settings can be just the start. Third-party software can take your setup further. It helps organize windows, manage taskbars, and control virtual desktops.
Multi-Monitor Taskbars
Windows puts a single taskbar on your main screen by default. This makes switching apps hard. Multi-monitor taskbar software fixes this by adding a taskbar to each screen.
Tools like DisplayFusion and Actual Multiple Monitors add a taskbar to each screen. You can pin apps to screens and launch them easily. This saves time during your workday.
Virtual Desktop Managers
Virtual desktop managers let you make separate workspaces. You can have one for email and another for project files. Switching between them is easy.
Tools like Dexpot and VirtuaWin work well with dual monitors. They keep your windows organized. This helps you stay focused and work smoothly.
| Software | Key Feature | Platform | Price |
|---|---|---|---|
| DisplayFusion | Multi-monitor taskbars and wallpaper management | Windows | $29 (Pro) |
| Actual Multiple Monitors | Extended taskbar with Start menu per screen | Windows | $24.95 |
| Dexpot | Up to 20 virtual desktops | Windows | Free (personal use) |
| BetterSnapTool | Window snapping and resizing | macOS | $2.99 |
The right software makes a big difference after setting up your dual monitors. Choose a tool that fits your workflow. This way, you’ll get more done with less effort. Before moving on, make sure your software is set up and running.
Tips for Optimizing Your Dual Monitor Setup
After setting up two monitors, a few quick changes can make it better. Use each monitor’s on-screen menu to match brightness and contrast. Make sure your mouse moves smoothly between screens.
Color Calibration Techniques
Even the same monitors can look different at first. Go to Windows Settings, then Personalization, and Background. Right-click an image to set different wallpapers for each screen.
This helps you see color differences. You can then adjust each monitor’s color until they match.
Ergonomic Considerations for Monitor Placement
Your setup should not hurt your body. Place the top of each monitor at or just below eye level. Angle them slightly inward to reduce head turning.
Put your main screen right in front of you. The secondary screen should be easy to glance at on either side.
Using two screens needs more graphics power. This can slow down older computers. Open your main apps on separate screens to check for smooth performance.