Online selling has become the most popular and profitable business.
In recent times, it has been noticed that almost all of the businesses have transferred to online for some good reasons.
With the advancement in technology, people prefer buying from the comfort of their homes.
Notably, during this epidemic of COVID-19 when nothing is open in all around the globe.
Technology has made everything very easily accessible; at a single click, you get whatever you want at your doorstep, thanks to unbelievably fast internet access.
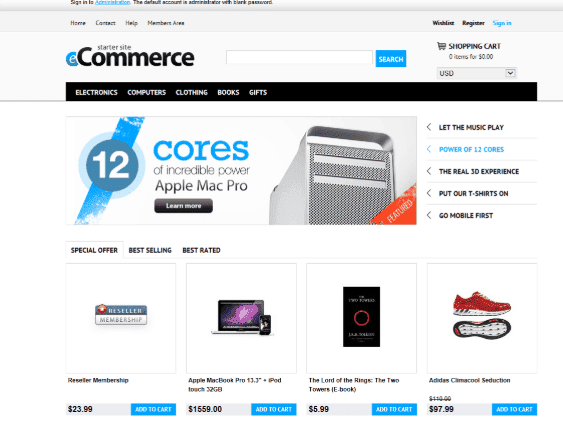
Many companies that already have their websites are adding some eCommerce features to make the sale process straightforward.
Ecommerce platforms.
There are eCommerce providers that can create an online store for you—no need to learn different languages or coding skills.
Create an online store within moments without any hassle. Thanks to the eCommerce solutions available to us today.
Welcome back.
So you chose Shopify as your eCommerce service provider.
- By using Shopify Buy Button


- By using a separate website
Before we move ahead and briefly discuss the ways to add Shopify to your website, let us walk you through the basics of Shopify:
Step by Step Tutorial On Using Shopify Button Or Using a Separate Website
Create your Shopify Account
Customize your Shopify theme
It is next to impossible to code a website if you are not familiar with coding, right?
Now, with pre-created websites that are Themes, you can just download your desired website at a single click, thanks to the vast theme library of Shopify. There are thousands of themes to choose from, some of them are free to use while some are paid. To edit your store’s theme
- Click online store
- Then push Themes
- Click visit theme store
You will jump to the theme store, which has free and paid themes.
To let you save time from wading through hundreds of themes, we are recommending you a few of them that might work for you.
Here are the three highly recommended themes:
- Startup
- Minimal
- Symmetry
Once you have chosen the theme, it’s time to customize and edit it to make it the way you want it to be.
To customize your theme, go to an online store, then Themes, and then click the Customize button. Keep in mind that every theme has a different set of settings and options that you can edit it.
- Modify your store’s setting
No one can deny the fact that Shopify’s default settings are great to use, but there are some things to add and change to make the most of your shiny new store.
Once all of the required settings are done, the next step is to create the necessary pages.
- Create essential pages
There are four pages every commerce store should have:
- Contact Us page
- About Us page
- Shipping Policy page
- Add Products to your store
Now, this is the time to have some fun that is adding products
- Enter your Product’s title and description
- Paste images of your Product
- Enter product type
- Tags
- Pricing
- Inventory
- Shipping
- Variants
- Meta title and description
- Create your collections
Now that you have configured your store’s settings, it’s time to learn how to attach Shopify to your store.
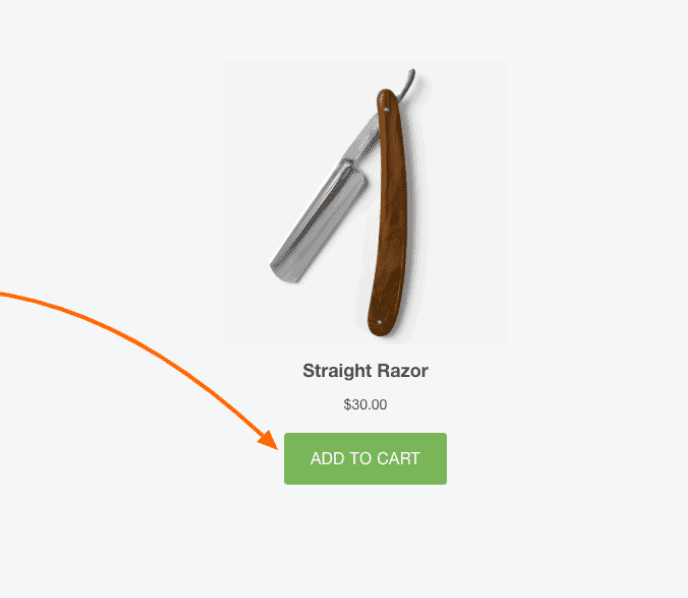
- Customizing the Buy Button: you can change color, size, font, and all the actions when the button is clicked. You can preview the changes you are making while customizing the button.
- Layout: The layout of the button falls into three different categories. The basic design adds a button without product images. In the classic layout, you show the product image along with the price beside the Buy Button. However, the Full view empowers you to display product images, prices, and descriptions beside the Buy Button.
- Open product details: If you want to display your customer Product, you can use the View Product button. Upon clicking the button, the customer will see the description of the Product, select their desired version of the Product, and add it to the cart. The product with multiple images is displayed with all their pictures.
- Add Product to the cart: you can direct your visitor to add Product to the cart. Customers can continue shopping and add additional products to the cart.
- Direct to checkout: do you want your customer to see the checkout where they can pay the price and purchase the Product? With this option, they can make a direct purchase.
- From Shopify admin, go to Buy Button
- Push create a Buy Button
- Click the Product Buy Button
- Choose the Product from your catalog or search for the Product
- Click Select
- Push Next
- Click Copy code
- Open the HTML editor for your website where you want to display the button
- Paste the code within the HTML
- Creating a separate website
Shopify is designed to work with
- Amazon
- eBay
- Amazon listing
Conclusioin
You can have your webpage on Shopify, you have to decide if it´s worth having it.


0 Comments